-3.png?height=120&name=MecaLogo-Black%20(1)-3.png)
Introduction
RoboDK is a powerful and cost-effective simulator for industrial robots and robot programming. It supports more than 500 robot arms including Meca500-R3 in one simulation environment. In this MecaNetwork article we will covers the basics of setting up a robot application simulation in RoboDK.
System Requirements
Meca500-R3 system
Windows PC with RoboDK installed and the Mecademic license.
RoboDK Application Setup - Basics
RoboDK has an extensive online documentation (https://robodk.com/doc/en/Basic-Guide.html#Start) that covers everything from Getting Started to advanced topics like Robot Machining project and Collision Detection. You can also refer to their Tutorial Videos playlist.
For this article, we will cover points specific to the Meca500 such as running programs on the robot and generating scripts to use them outside of RoboDK. But first let's start with the basics:
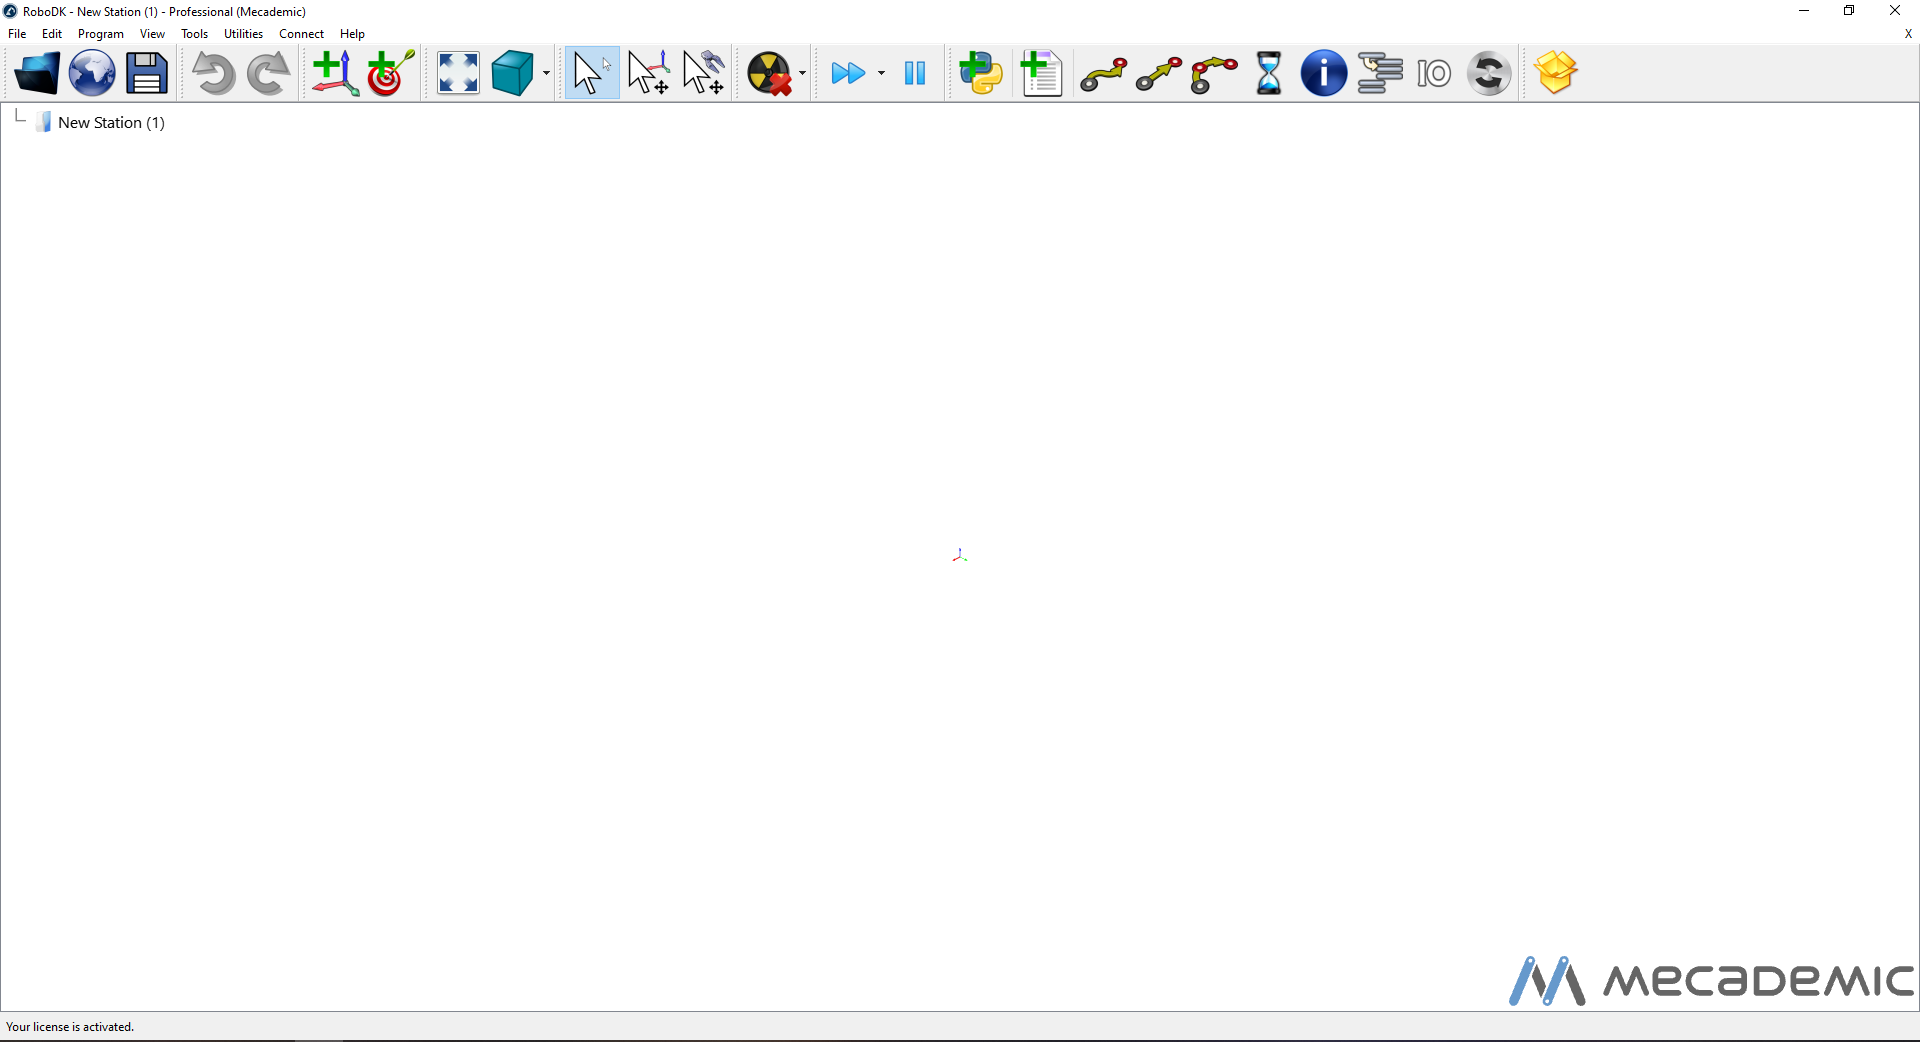
- Open RoboDK. If you have the Mecademic license, it should look like this:
The Mecademic Meca500 R3 is by default available in the RoboDK library. To get it, click on the planet icon on the top left and use the filter to search for "Mecademic".
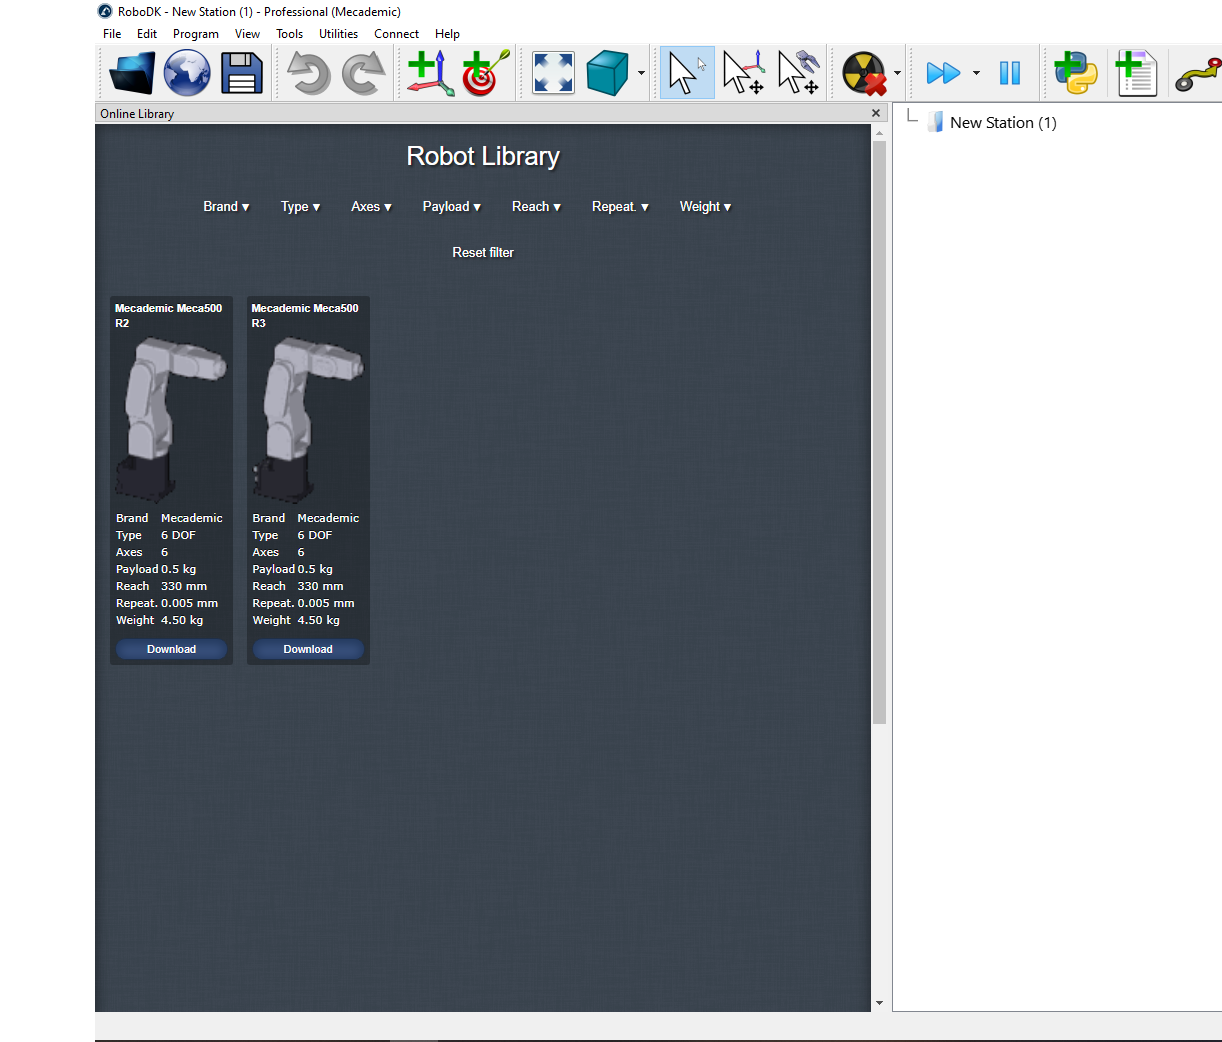
Both the R3 and R2 are available in the library but we will use the R3 or this example.
- Click on "Download" to get the robot in the scene.
- Close the left window.
Now that the robot is imported, we can set up a few more things. The TCP is the first one. Currently the MEGP25 gripper is not available by default in the RoboDK library so we made our own version that we can simply drag and drop in the scene. For more info on how to set up a tool and create your own, please see RoboDK's documentation. The MEGP25E tool and MPM500 is also available at the end of this article.
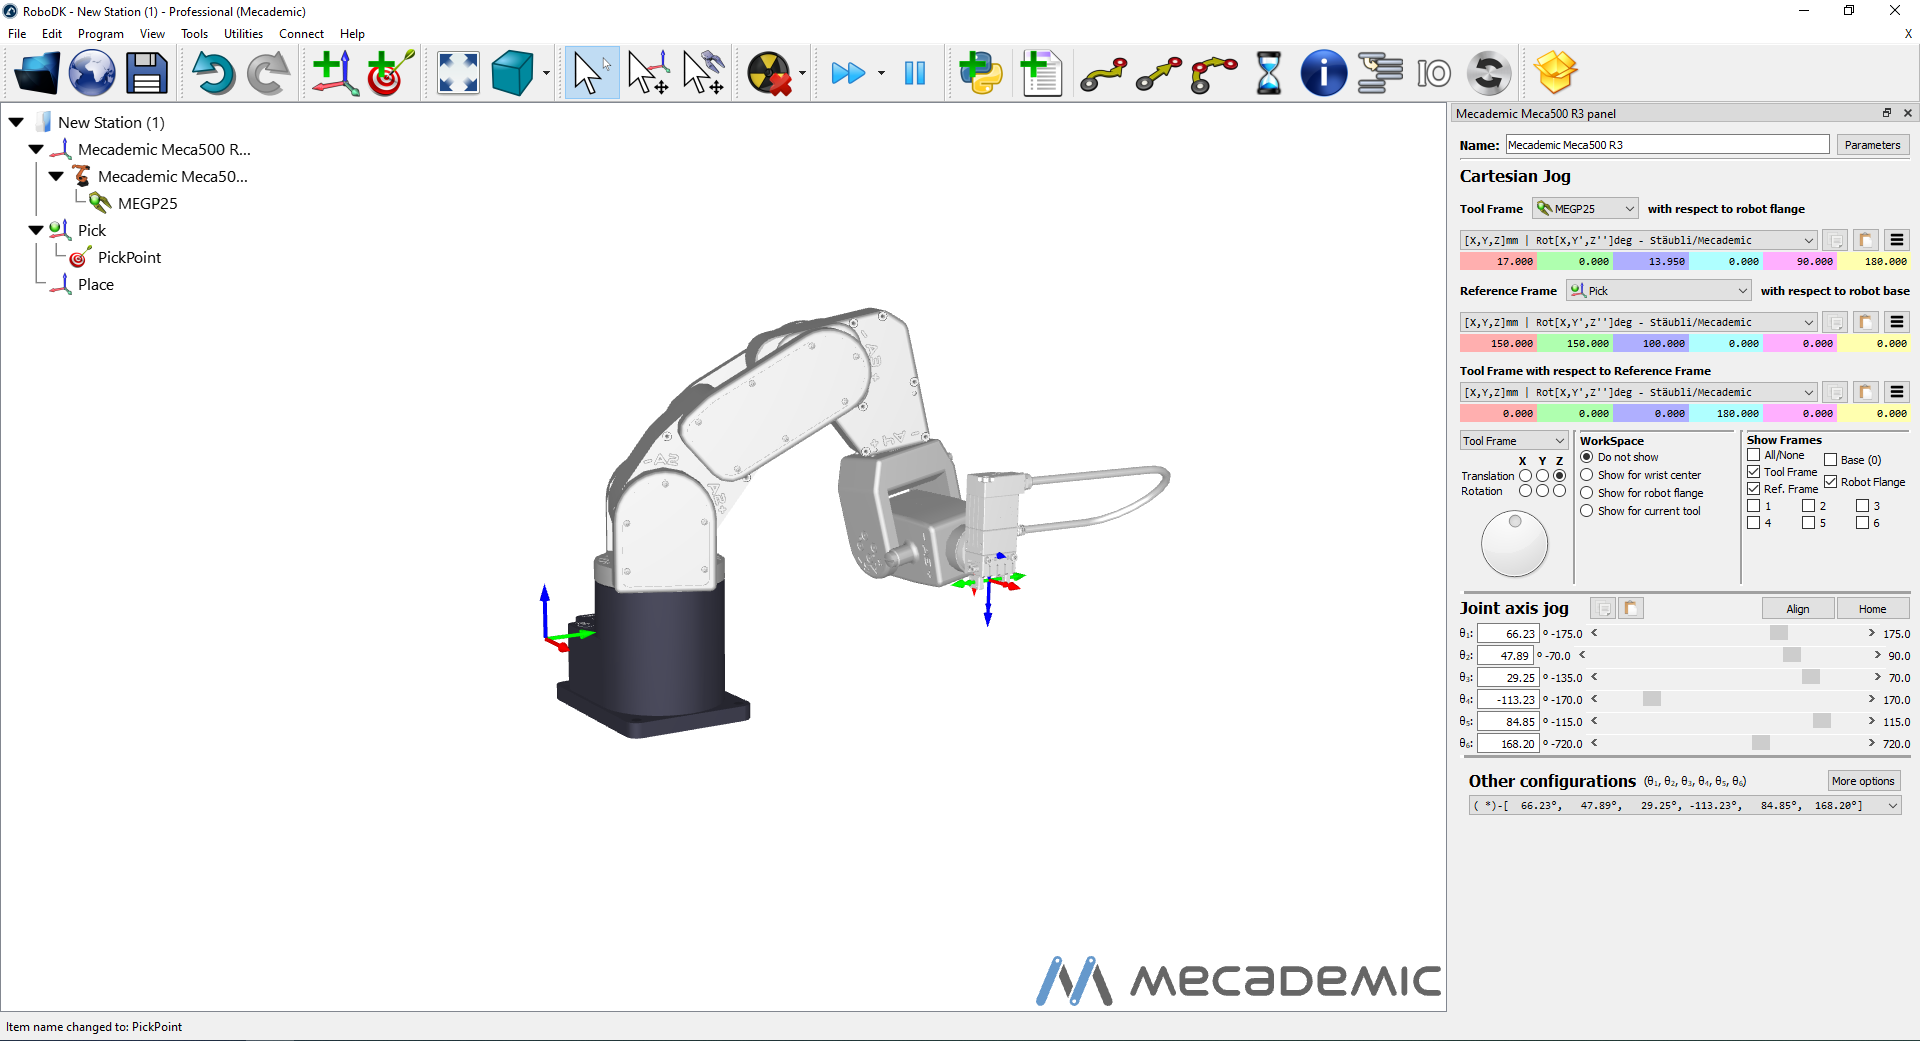
Once the tool is imported, it looks like this:
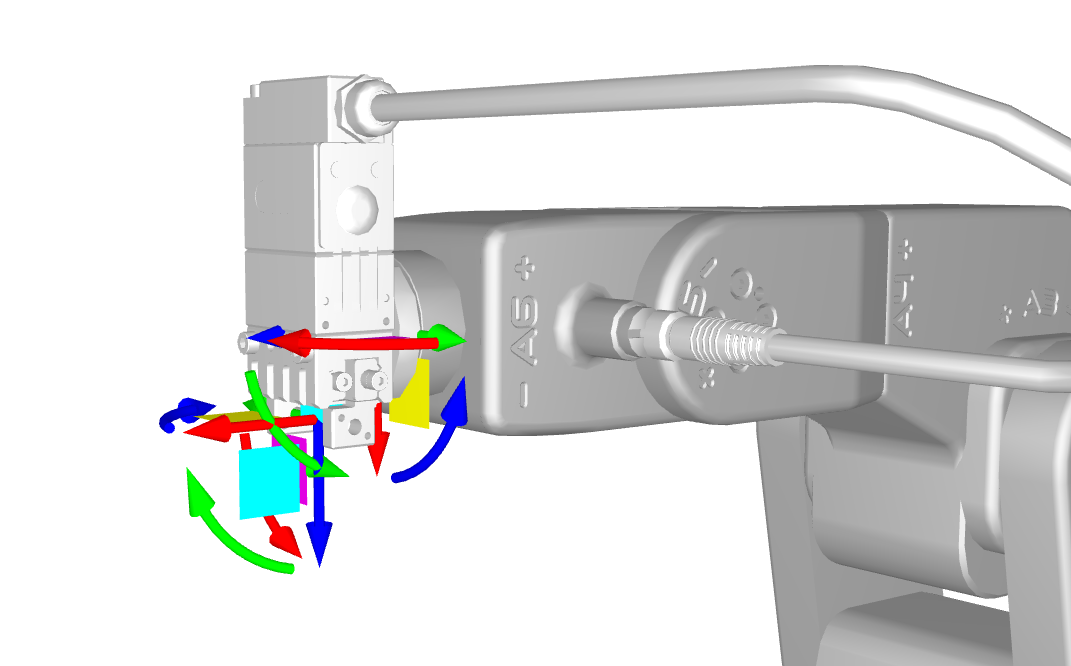
There we can see both the flange's and TCP's reference frames. When using the robot, we will use the TCP as the point where the robot picks the part.
The next step is to define the frame of references of the application. For instance if your application is a pick and place, you can define a frame of reference for the pick and one for the place.
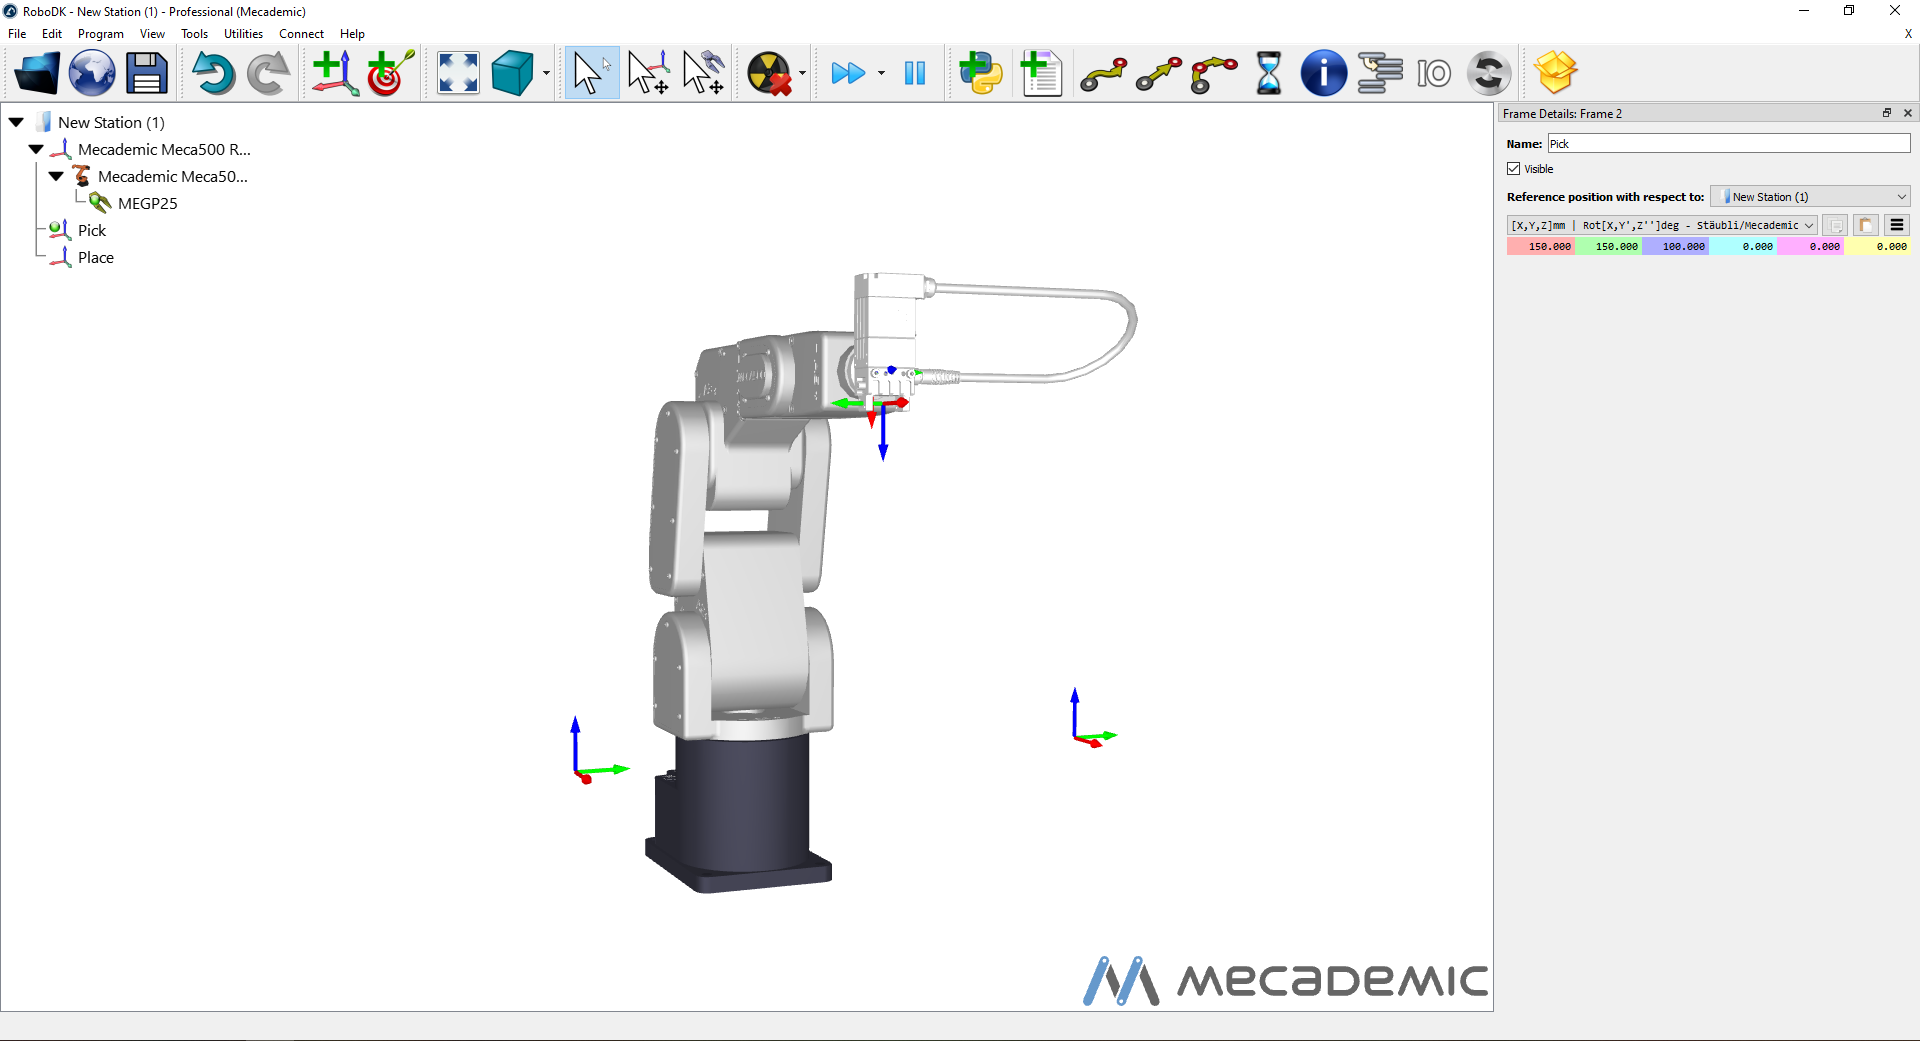
Here created a "Pick" frame of reference and a "Place". This is useful especially if there are multiple pick actions near the pick position like a tray or plate with multiple objects. When adjusting the program later, you can simply move the frame of reference and the whole pick sequence will move.
Now we can define the "Pick" targets and "Place" targets. Targets are the points where we want the robot to go. Here I moved the robot to the position [0,0,0,180,0,0] in the "Pick" frame of reference and clicked on the "Add new target" button. Another way to do it is to first create the target where the robot is and then opening the option panel of the target and modifying by hand the target position. I will do that to set the approach positions and the place position.
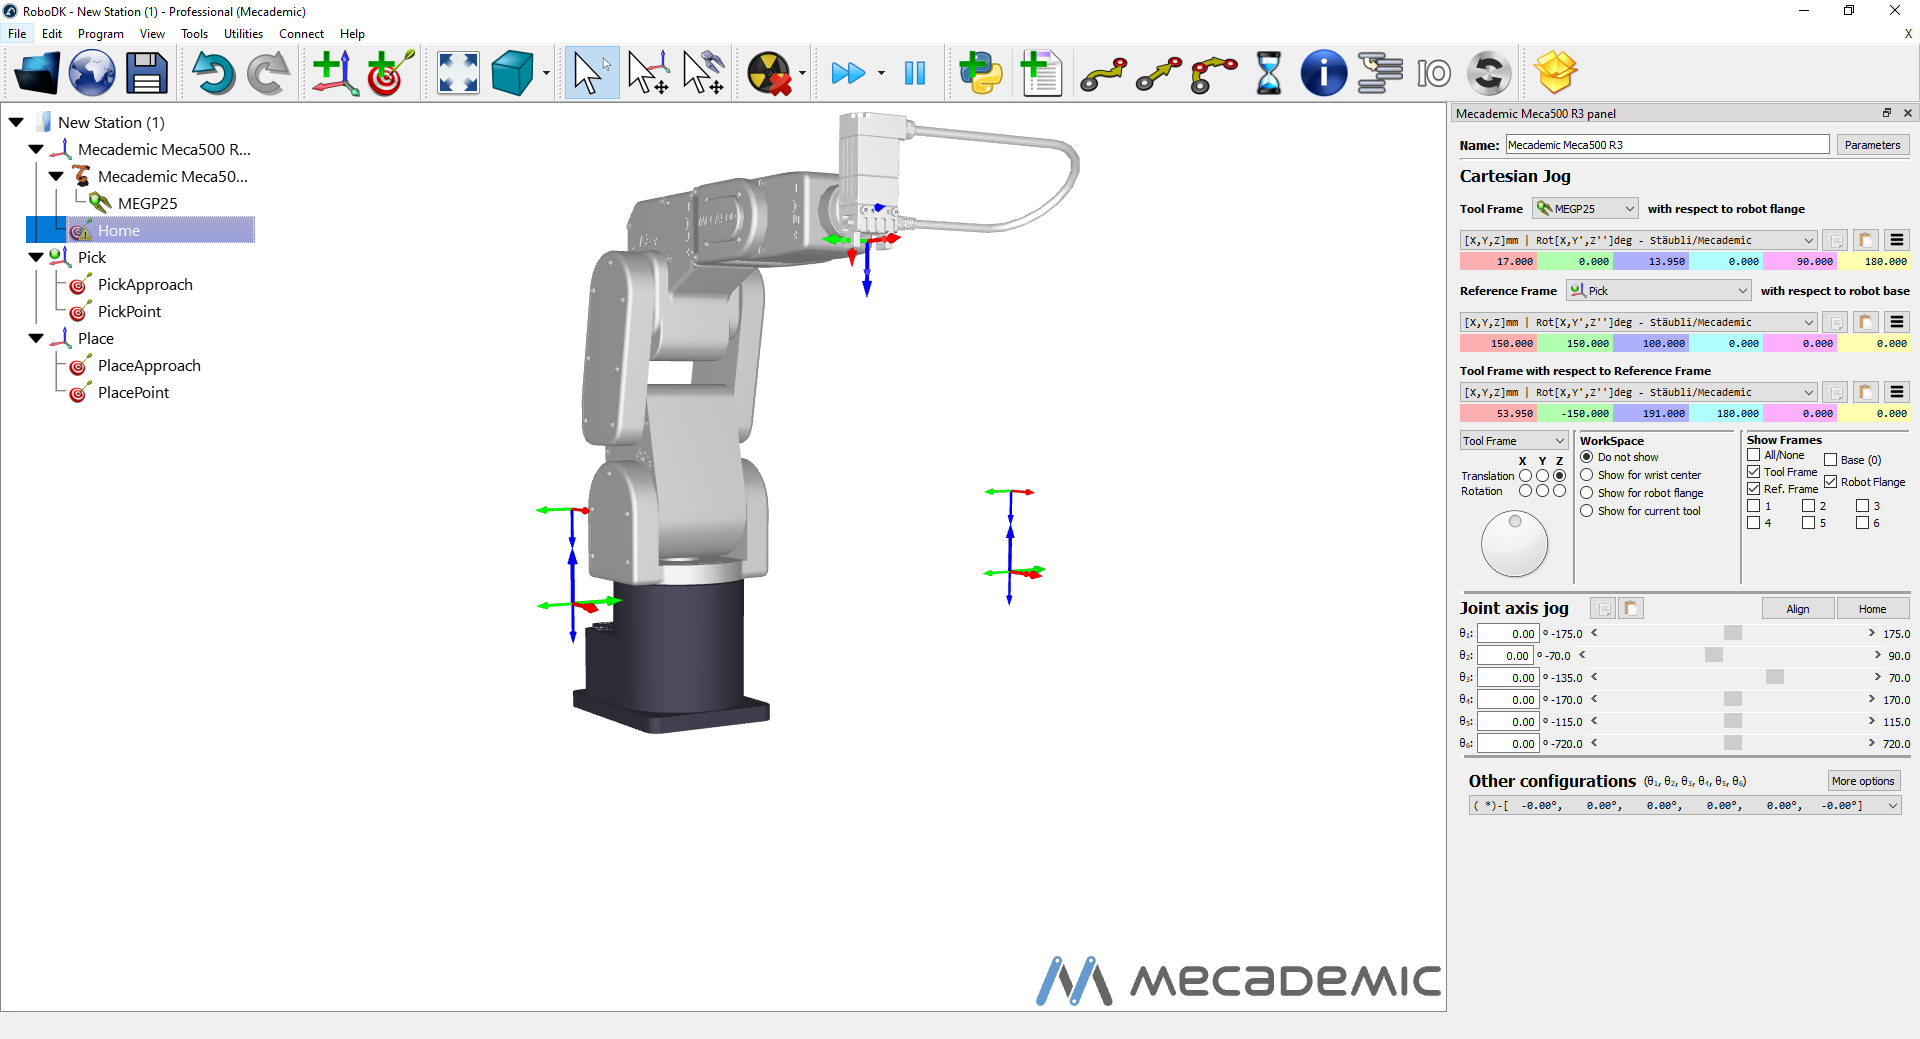
We now have a "Home" target as well as an approach points for both the "Pick" and "Place" frame of references and a pick and place point. We can then start the program.
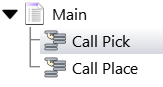
It will be split into two subprograms and one main program.
The first subprogram is called Pick.
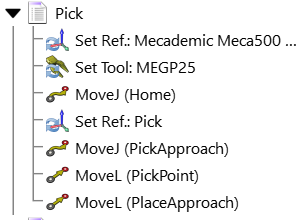
First we select the home position which is in the Meca500 reference frame. This is the start position of the robot and it shouldn't move if the pick or place points are moved. Then we need to change the reference frame to "Pick". We can then add the approach, pick, and retract moves. Normally we would also include a gripper operation at the pick point.
The second subprogram is called Place.
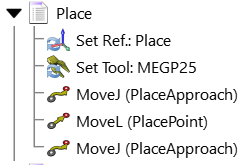
In both programs, the first "Set Ref" and "Set Tool" are done automatically when creating the first move based on what target is selected.
We can test each program individually by double clicking on it or right clicking on the program and selecting "Run".
Then we create a new program called Main where we will call the two other programs.
To run this program, you can double click on it.
Running the Program
While running the program in the simulation is good to quickly test things, being able to run it on the robot is very important. Luckily, RoboDK offers a few ways to test the program on the robot.
Running from RoboDK
It is possible to run the programs directly from RoboDK on the robot itself. You can right click on the programs and select the "Run on robot" option. Then when running the program, the robot will also run it. Make sure that every subprogram has the option enabled else the robot will not run all of them and might make some unexpected movements.
Generate Robot Program (Python / Web Interface)
Having RoboDK running is also not a requirement for programs to run on the robot. There are two ways to generate programs that can be ran outside of RoboDK:
- Generate Python scripts.
- Generate web interface scripts.
First you need to select the post processor you want to use. The two that can be used are:
- Mecademic Python
- Mecademic Script

Once the post processor has been selected, you can click Generate robot program to generate the robot program in your preferred option. The Python one generates a stand alone python script that can simply be ran to move the robot. The Mecademic script generates a text file that can be copied in the web interface to make the robot move.
Summary
RoboDK is a powerful simulation and offline programming software that can be used in conjunction with the Meca500 to either simulate an application or perform reach analysis or accelerate your program development. This tutorial hopes to serve as a good starting point for users to simulate and build applications with Meca500.
For more advanced applications and functionalities, please take a look at RoboDK's documentation and examples. You can also contact us if you need help with your application through our support portal.
Attachments (2)
tool tool